Today, I will summarize some tips for using AI.
Regarding the SPUM Unity assets currently available in our company's service, most users are global users. When we create tutorials for them, we explain in Korean and add subtitles, but this often leads to a lack of understanding, and we frequently receive inquiries asking if we can provide videos in English.
So, today I would like to introduce a method to provide content in English by utilizing Microsoft's cloud-based AI service, Azure Speech Studio.
First, the AI Speech service is as follows.
https://speech.microsoft.com/portal
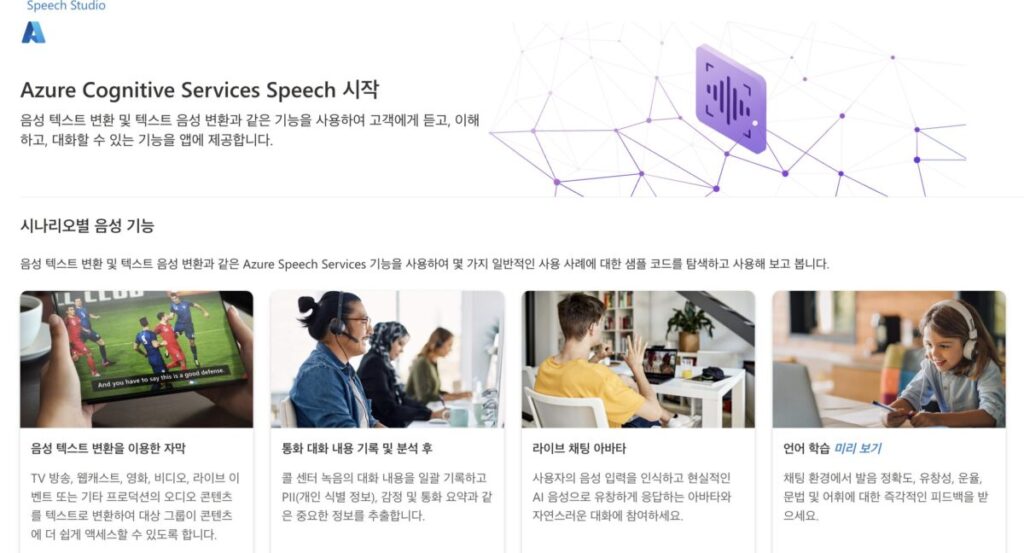
It is a service that allows you to utilize various AI-based functions and services related to speech. Nowadays, it is widely used to create real-time text subtitles from speech, analyze voice calls, and use various services such as live chat avatars.
Among them, today I will try using 'Text to Speech'. With Text to Speech, there are various services such as Speech Gallery, Custom Voice, Personal Voice, and Create Audio Content.
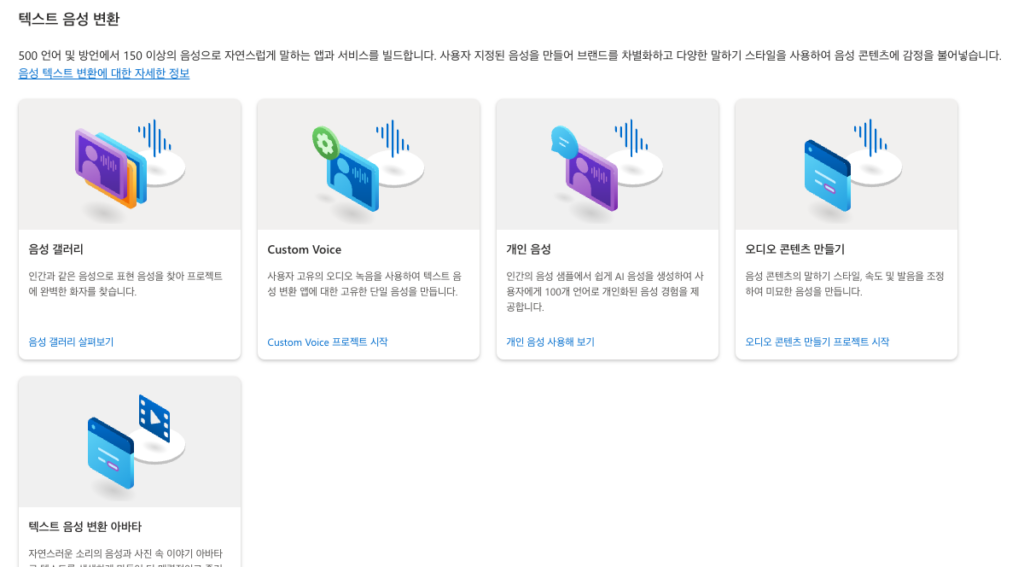
Among them, let's go into the Speech Gallery
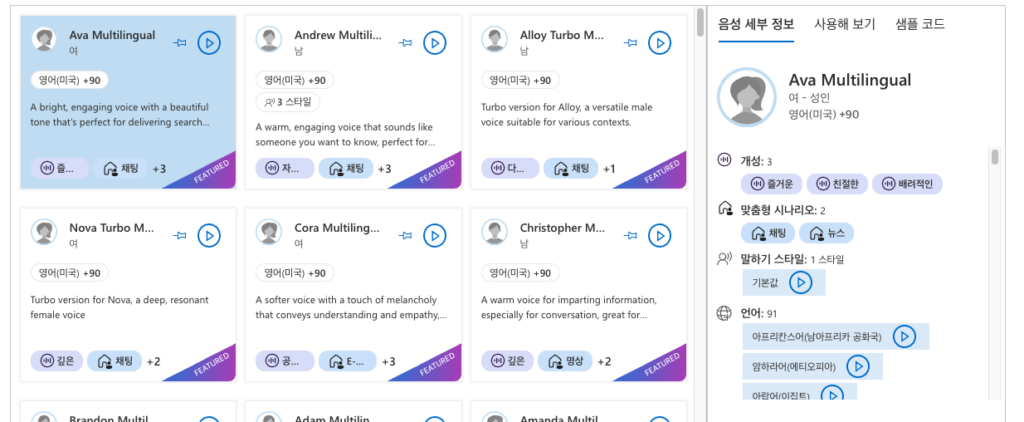
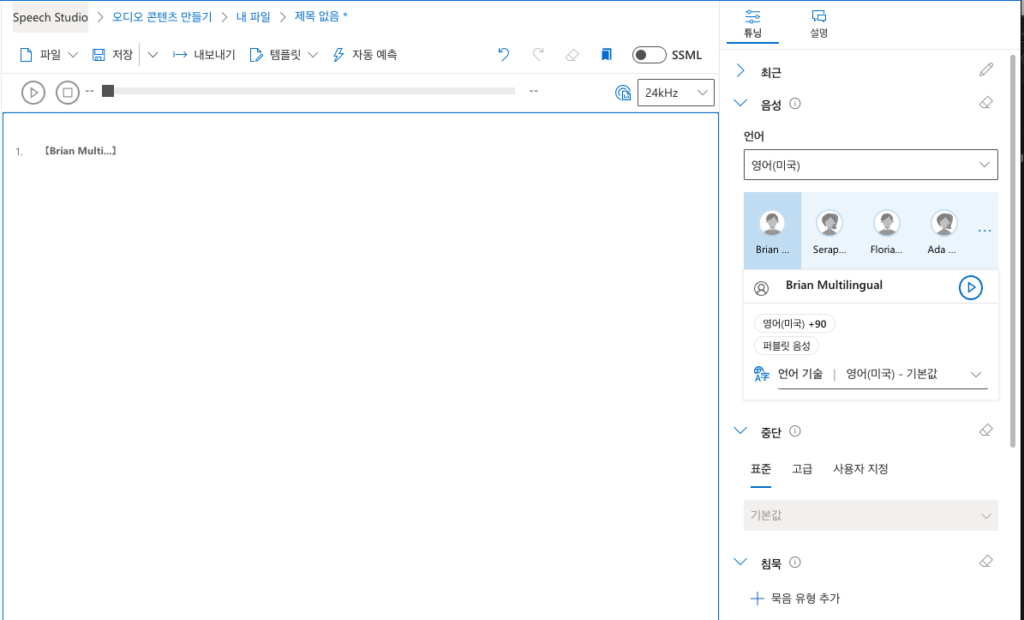
Then, you can create virtual voices in various forms depending on gender, race, age, tone, etc., as shown below. This is a really interesting service. So, using this service, you can create the tone you want to convey. In actual use, I found it very important to choose which sound fits the development language.
You can also choose various settings as shown below.
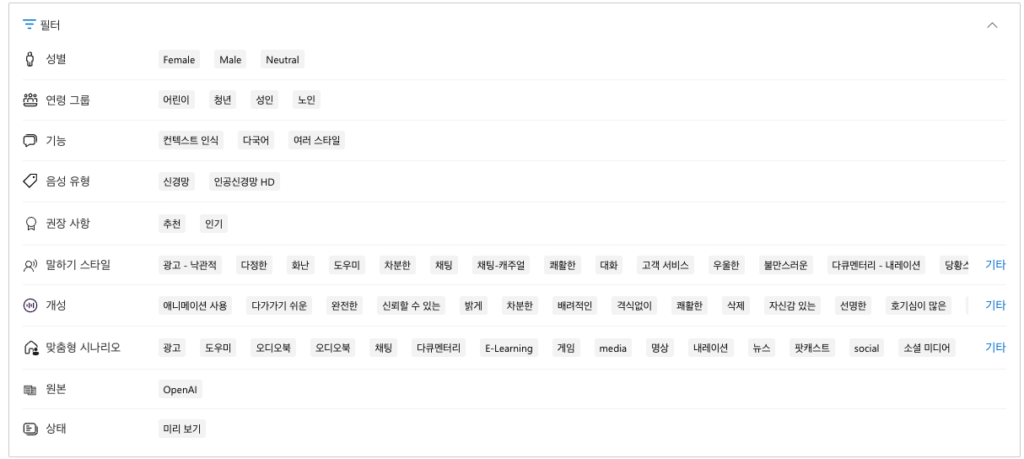
For the example, I selected the podcast tag below and chose Brian Multilingual. After selection, you can preview it.

Now that you have selected a voice, it is time to actually create the content. Let's click "Go to Create Audio Content" at the bottom.
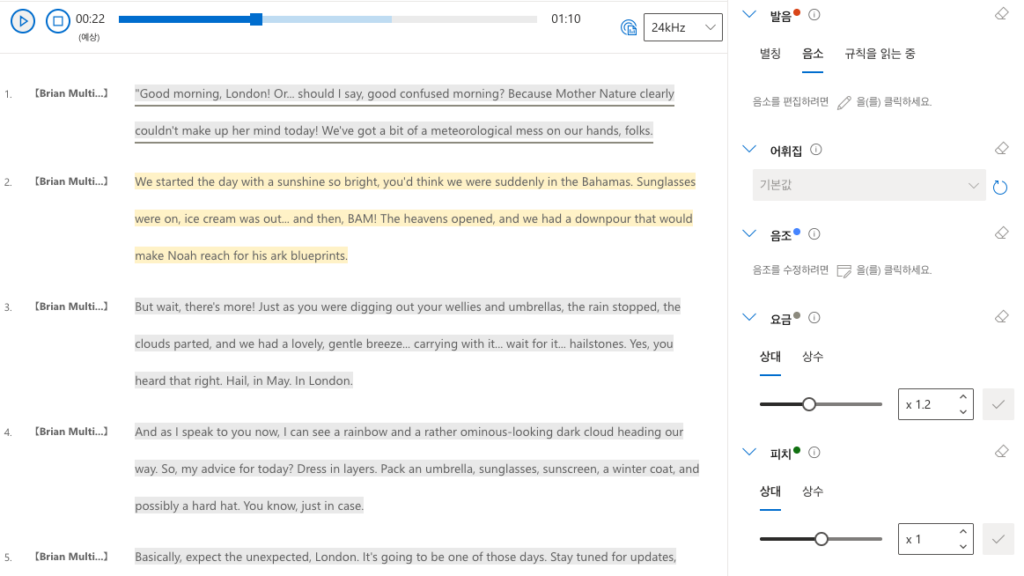
Then, as shown below, you can use a service that reads the text you enter using the voice you selected earlier.
I asked it to create text in the style of a fun reporter explaining today's weather using AI, and I tried it out by putting it in and testing it.
It translates very well into speech. I haven't used the detailed options much, but you can select vocabulary, intonation, pitch, rate (written as "rate" but it's speaking speed), and volume, etc.
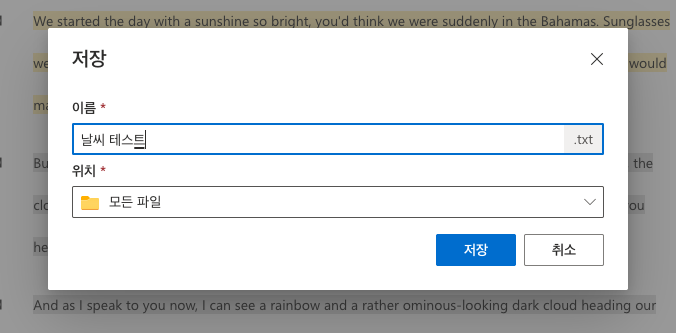
Click the preview menu at the top to test it out, and once you are satisfied with the voice, you need to save it.
And when you click Export, you can save it to Azure Storage or choose to export to a local disk. In my case, I usually use export to local disk.
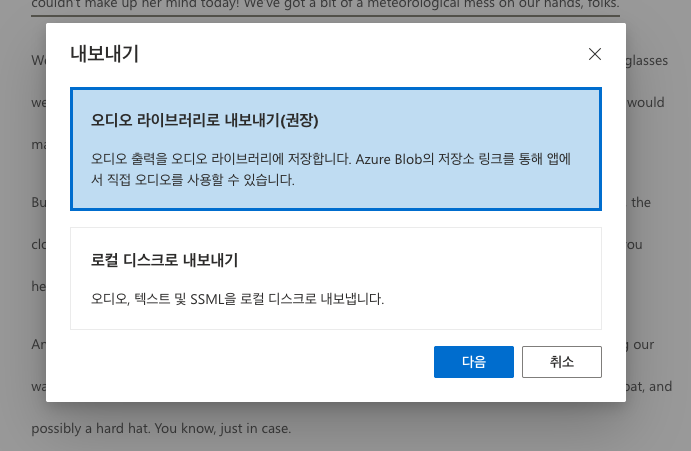
As shown below, for export format and audio format, you can select the format, and you can choose whether to export the entire content or export by paragraph.
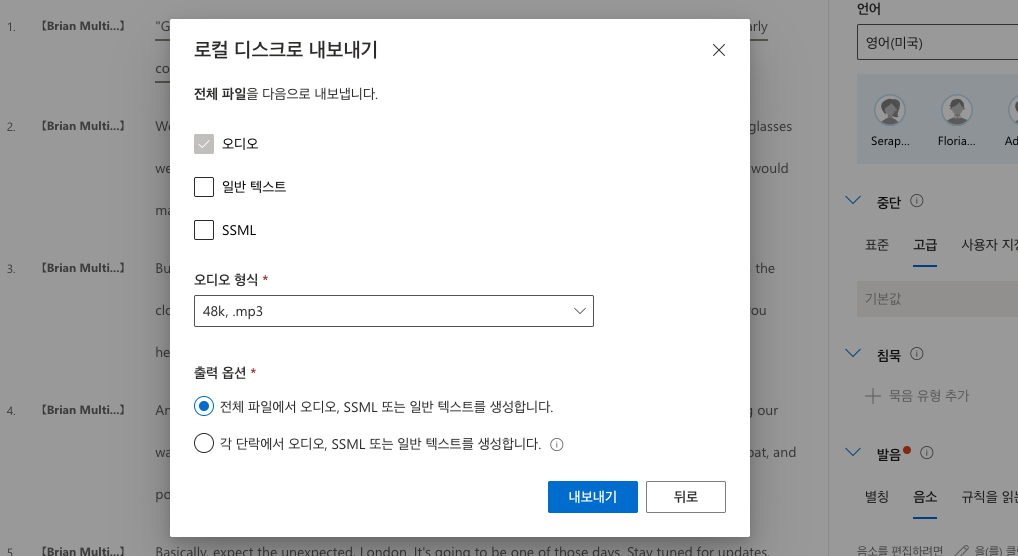
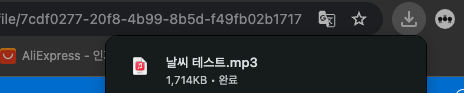
Once you make the final decision and click export, a short encoding time occurs, and the mp3 file saved in the download folder is located in the Save file as format.
Then, you can edit and use the generated audio file in the original video.
So, to explain the overall process, it can be used in the following process.
- Record the video in Korean.
- Edit the recorded video first to remove awkward parts or mistakes.
- Automatically extract subtitles from the edited video. (Use Premiere Pro or Whisper, etc.)
- Input the subtitles into ChatGPT, etc., and ask to organize them while translating the sentences into English.
- Check the translated sentences to ensure there are no translation errors or awkward phrasing.
- Import the final completed text into Azure Speech Studio to create the voiceover.
- Import the created voiceover into the edited video and adjust it to fit the scenes.
This process involves some tedious steps, but it is much easier and more cost-effective than outsourcing the entire translation video.
Of course, Speech Studio also offers a service that takes a video in Korean and instantly translates it into English without the tedious process described above, but personally, I don't recommend it.

Because, even if it is an explanation of the same scene, the syllable lengths of Korean and English are different, and since the cuts were not edited considering that, if you really explain the scene in English for the same amount of time, it will come out in a long, drawn-out manner like rapping, so unless you edit it considering that, it will be difficult to get a good result.
In my case, ㅋㅋ I had a shocking result...
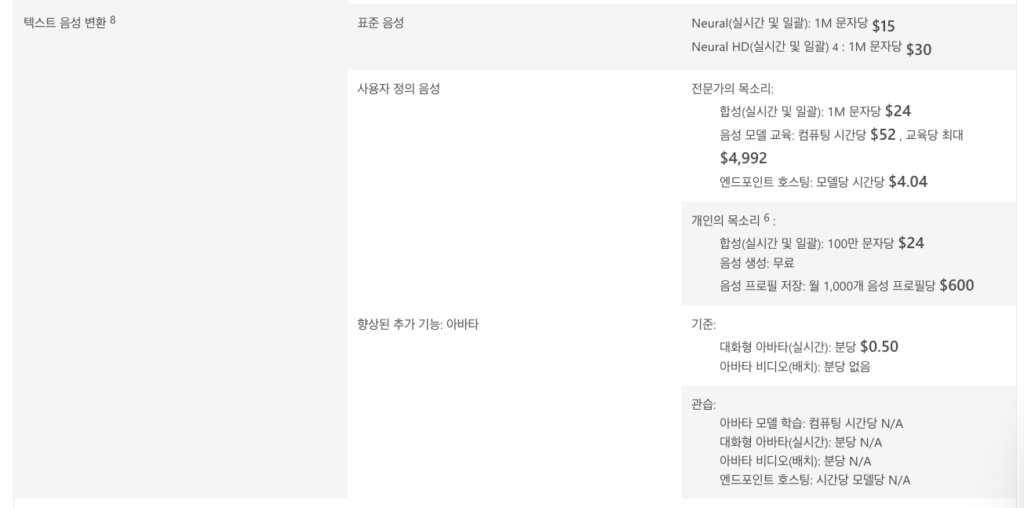
Also, since the price is roughly about $1 per minute, if the result is a mess, you'll just be throwing money away... It seems difficult to recommend without sufficient understanding.
Please see the video below for more details. I have created a YouTube video of the entire workflow.
And finally, we need to talk about the most important part: price. Since this is an incredibly powerful feature, it is of course not free and is available as a paid service.
However, a free tier exists, and its contents are as follows.
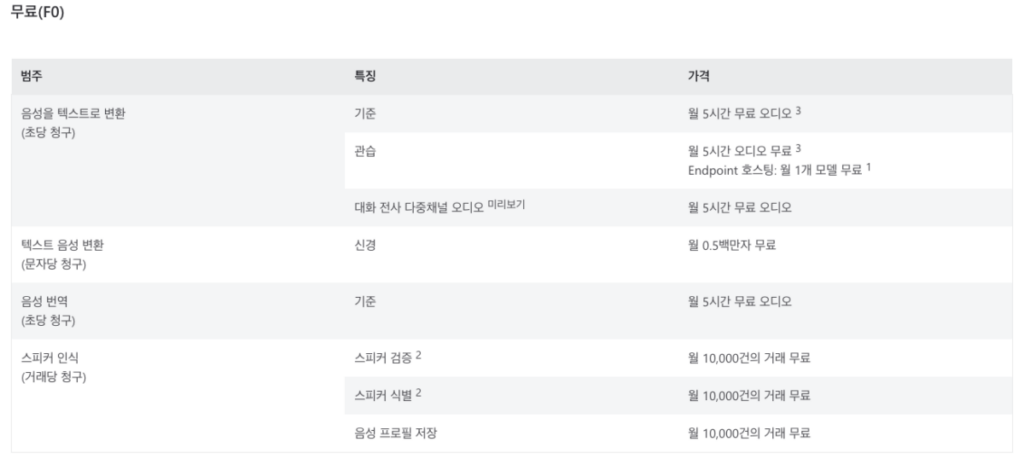
Otherwise, there are paid pricing tiers, but considering it actually performs the translation, the price seems reasonable.

However, using advanced features such as voice models and methods to recognize your own voice can be quite expensive. Therefore, it is recommended to use the free tier to learn how to use the service before using advanced features.
It's also quite fun to train my voice to have conversations with me..
I recommend you give it a try. (In my case, I was shocked because it was too awkward.. )
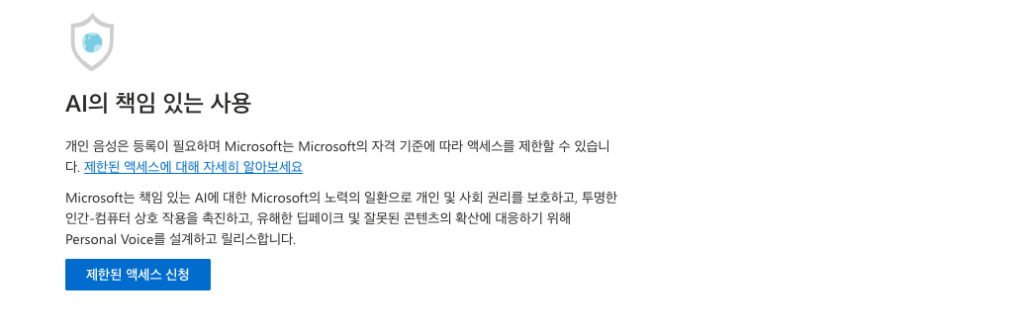
Additionally, to use this commercially or formally, a separate application must be made. This is likely due to the possibility of abuse.
That concludes the tips for using MS Azure Speech Studio for global services.
Using AI to improve work and create & use content seems to be just the beginning. If even cheaper and more diverse services appear, I have no doubt they will bring even greater productivity improvements.
Additionally, while this process could threaten the jobs of traditional translators, at the same time, if they become familiar with these tools and use them better, I believe it will lead to higher quality translations and increased productivity. I have summarized this post based on that thought.