I previously introduced Amazon Q in an earlier blog post.
Personally, even after writing that post, I have continued getting a lot of value out of Q thanks to its very low monthly price of 19 dollars. Even though various other tools have appeared since then, I have grown increasingly comfortable with Q and now feel like I am dancing with a blade alongside it.
Because of that, whenever I mentor students or teach, I try to make sure they can also experience AI-assisted development directly. It really feels like we are entering a time when even beginners with a good idea can make a game much more easily. So today I want to briefly show how you can create a simple Doom-style game.
Before that, you need to install Q. If you use the 19-dollar Pro plan you can use it almost without limits, although there are still occasional caps and a few tricks to learn. You can also try it for free, and I recorded a video about that setup process below.
Once your CLI-based Q environment is ready, it is time to try building the Doom-style game.
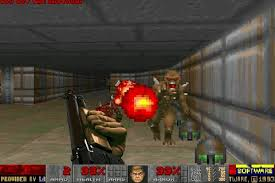
But what exactly is Doom-style?
Doom is one of the most legendary first-person games ever made, created by the still-active genius developer John Carmack. It is often treated as one of the earliest landmark FPS titles.
Wikipedia page for Doom
https://en.wikipedia.org/wiki/Doom_(franchise)
If you look around for AI coding examples, you will often find people building Doom-style projects. That is because Doom is such a strong example of the foundational ideas behind 2D and 3D graphics, which makes it a good target when you want AI to help you build an immersive web-based 3D-style game.
These days we have many browser-friendly 3D solutions such as Three.js and Babylon.js, so if you choose your prompts well, AI can quickly produce web-based 3D game examples.
But today I wanted to see whether Q could make a Doom-style game even from a fairly rough, almost reckless prompt. So I simply gave it a command and tried it out.
To start, you really just need to issue the command. Still, it helps to point Q at the right folder before you begin.
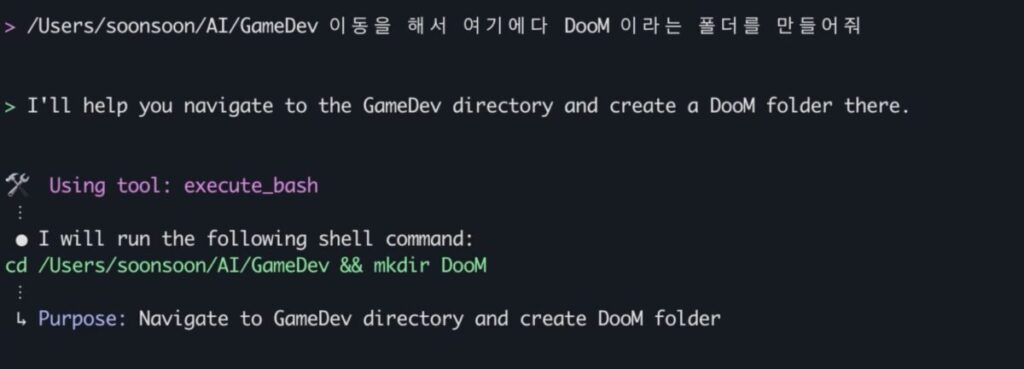
And while Q will try to build something even if you just tell it to make the game in a vague vibe-coding style, it is better to ask for a basic plan first. If you do that, it usually produces a fairly convincing outline.
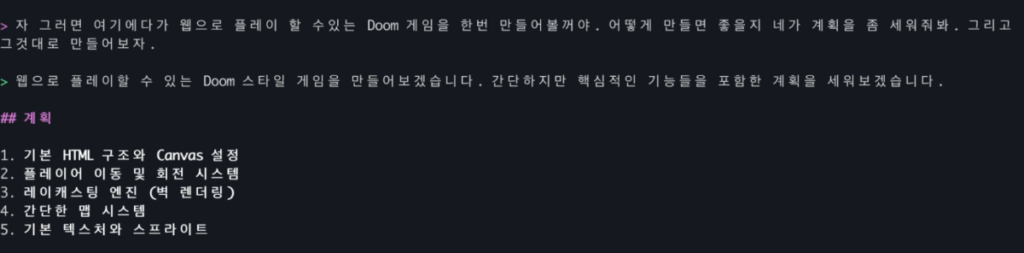
Based on that plan, it seemed like the idea was to create the overall structure, draw walls, and then use raycasting for player and object handling to fake a 3D environment.
It sounded reasonable enough, so I let it proceed.
The first result was quite bizarre.

It looked like the rendering of walls and several other core pieces had been aggressively skipped. Very bold of the AI. After a few rounds of pushing it harder and asking for fixes, it eventually understood what I meant and improved the result.
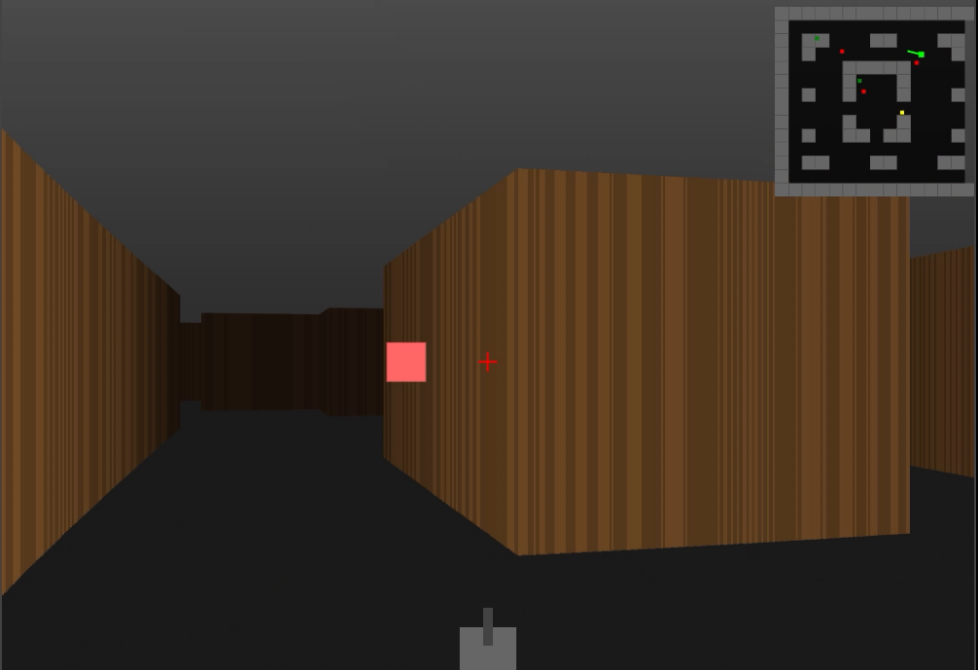
The final output became much more convincing.
It even added a mini-map and a visible weapon sprite, which made it feel much more like an actual game.
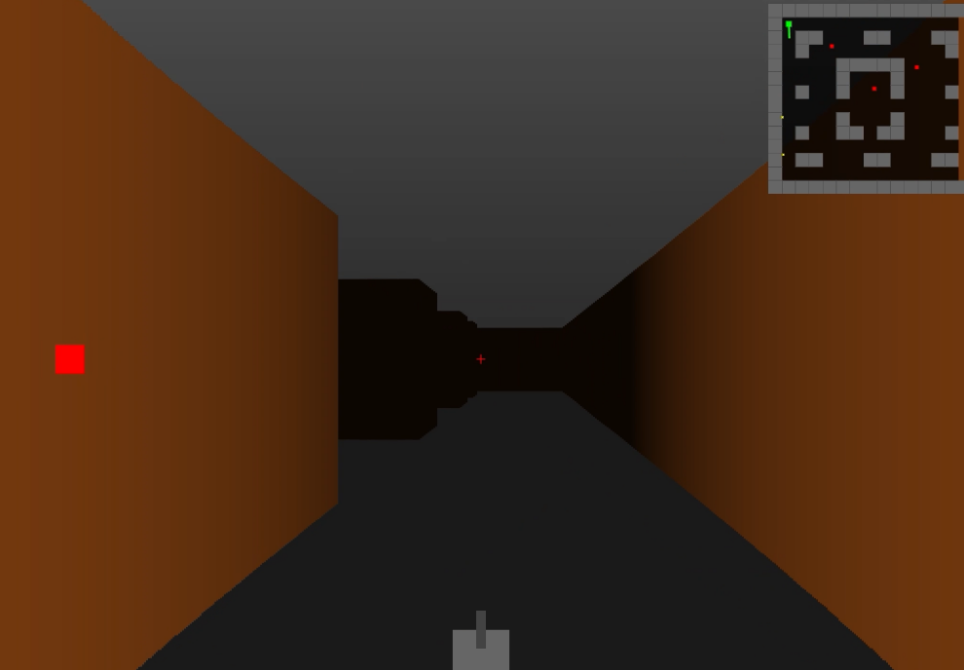
Of course, without loading proper 3D assets, it is hard to get something much higher quality than this using only basic mesh rendering. You can push the result further with effects, sound, and textures through better prompting, but if you want serious quality, more research is still needed.
Anyway, after enough repeated prodding, this was the final result.
It does at least run like a game.
If you want to see the full creation process in more detail, please check the video below.
That is how I quickly put together a simple first-person Doom-style browser game example.
Strictly speaking, I would not call this full game development. But for people who feel blocked because they lack the basics of game development, or for people who simply want to taste the fun of making a game, this kind of process can be a great starting point.
To go beyond this and move toward actual game development, you still need to study more fundamentals. I plan to keep researching ways to explain those topics more clearly and share them in future content.
And as always, the more interest and support there is, the faster I find the energy to make the next piece.
Thank you.